First Things First.
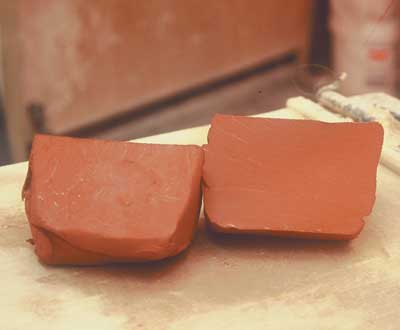
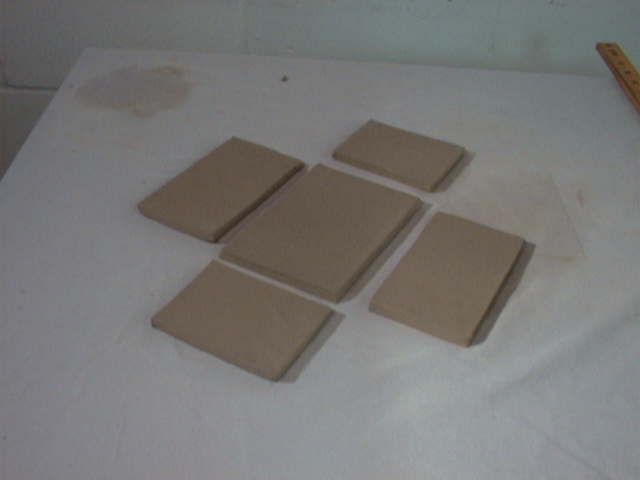
Tile sculpting is a an art form that falls under the category of sculpting (but that's pretty self-explanatory). The creation process requires the use of a slab, or a thin, flat piece of clay that will act as the essential foundation, or base of the artwork. That's when the "arting" component of the process comes into play. Relief is one of the main components in making a clay tile--you may use a number of art tools to carve out an image or design, or you could score, slip, and attach a separate shape to the slab.
Key words:
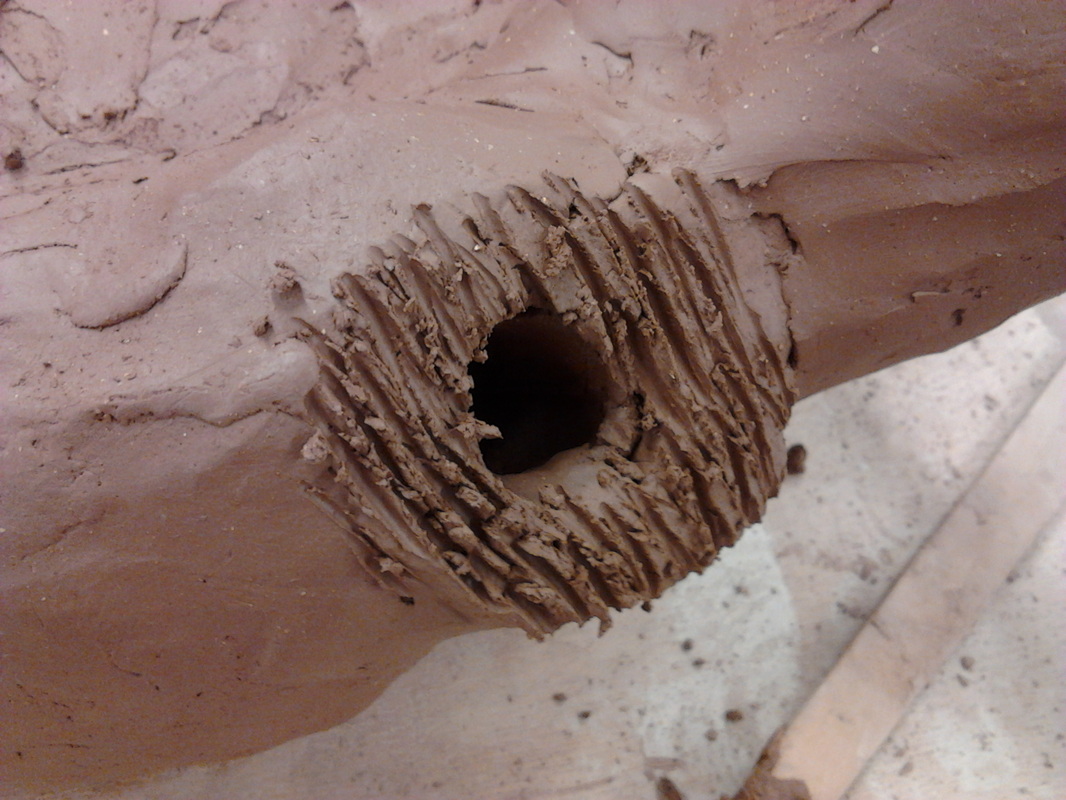
Score- make scratches onto the surfaces that will be sticking together (use an art tool to do so.)
Slip- wet the surfaces with water (some people use clay diluted with water as an alternative). Finally, join the two pieces together.
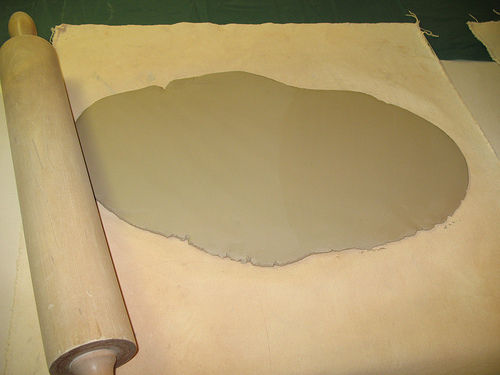
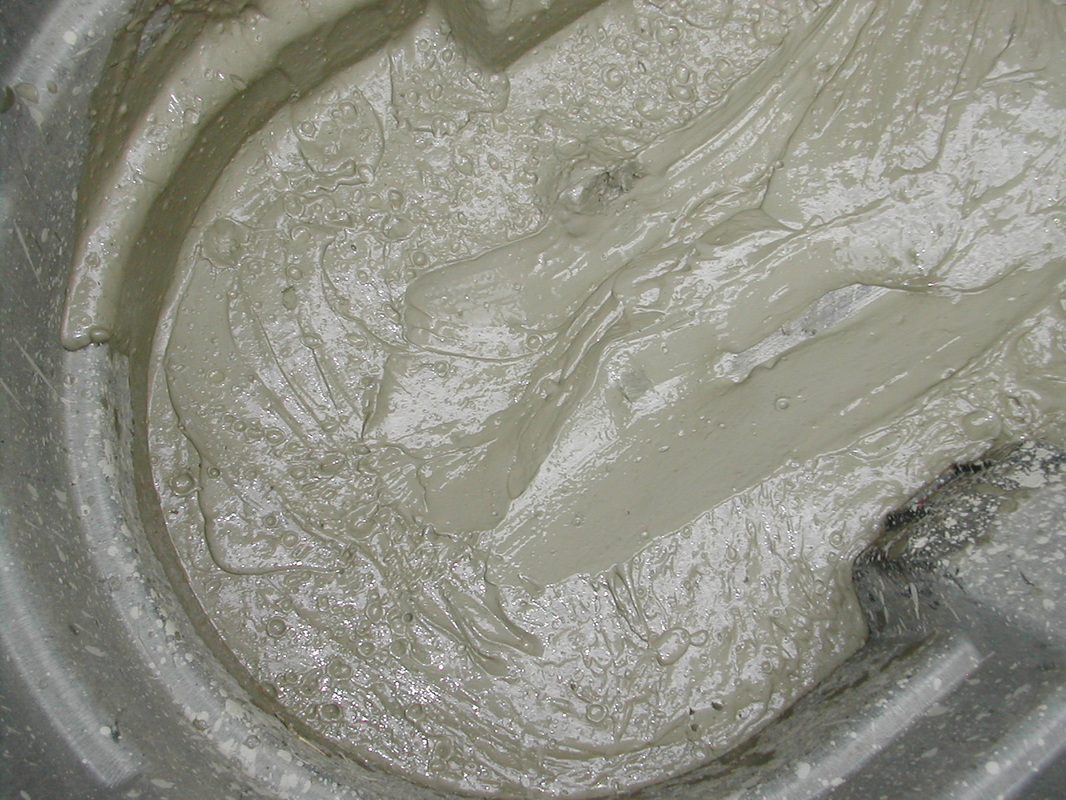
| | Onto The Next One. Before diving into the process of creating your lovely art piece, you want to make sure you wedge the clay using the cut and slap method. This makes sure that all those pesky air bubbles and pockets are out of the clay because if they are not, the side effects can be deadly--deadly to your artwork, I mean. If there are air pockets still hidden with the clay once you fire it, it may explode. And that wouldn't be very pleasant either. So, to ensure the good health of your artwork, make sure to slap it onto a hard surface until it is at a reasonable width, and if you need it any thinner, then roll it out with a Wheel mechanism or a simple rolling pin. Key words: Wedge- A procedure for preparing clay or a clay body by hand: the lump of clay is repeatedly thrown at a surfaces. For The Finale. Finally, just remember to be creative and allow plenty of time to give your tile the best of your efforts, Adding detail to your carving and etching will definitely add to the visually pleasing aspect of the piece. |
 RSS Feed
